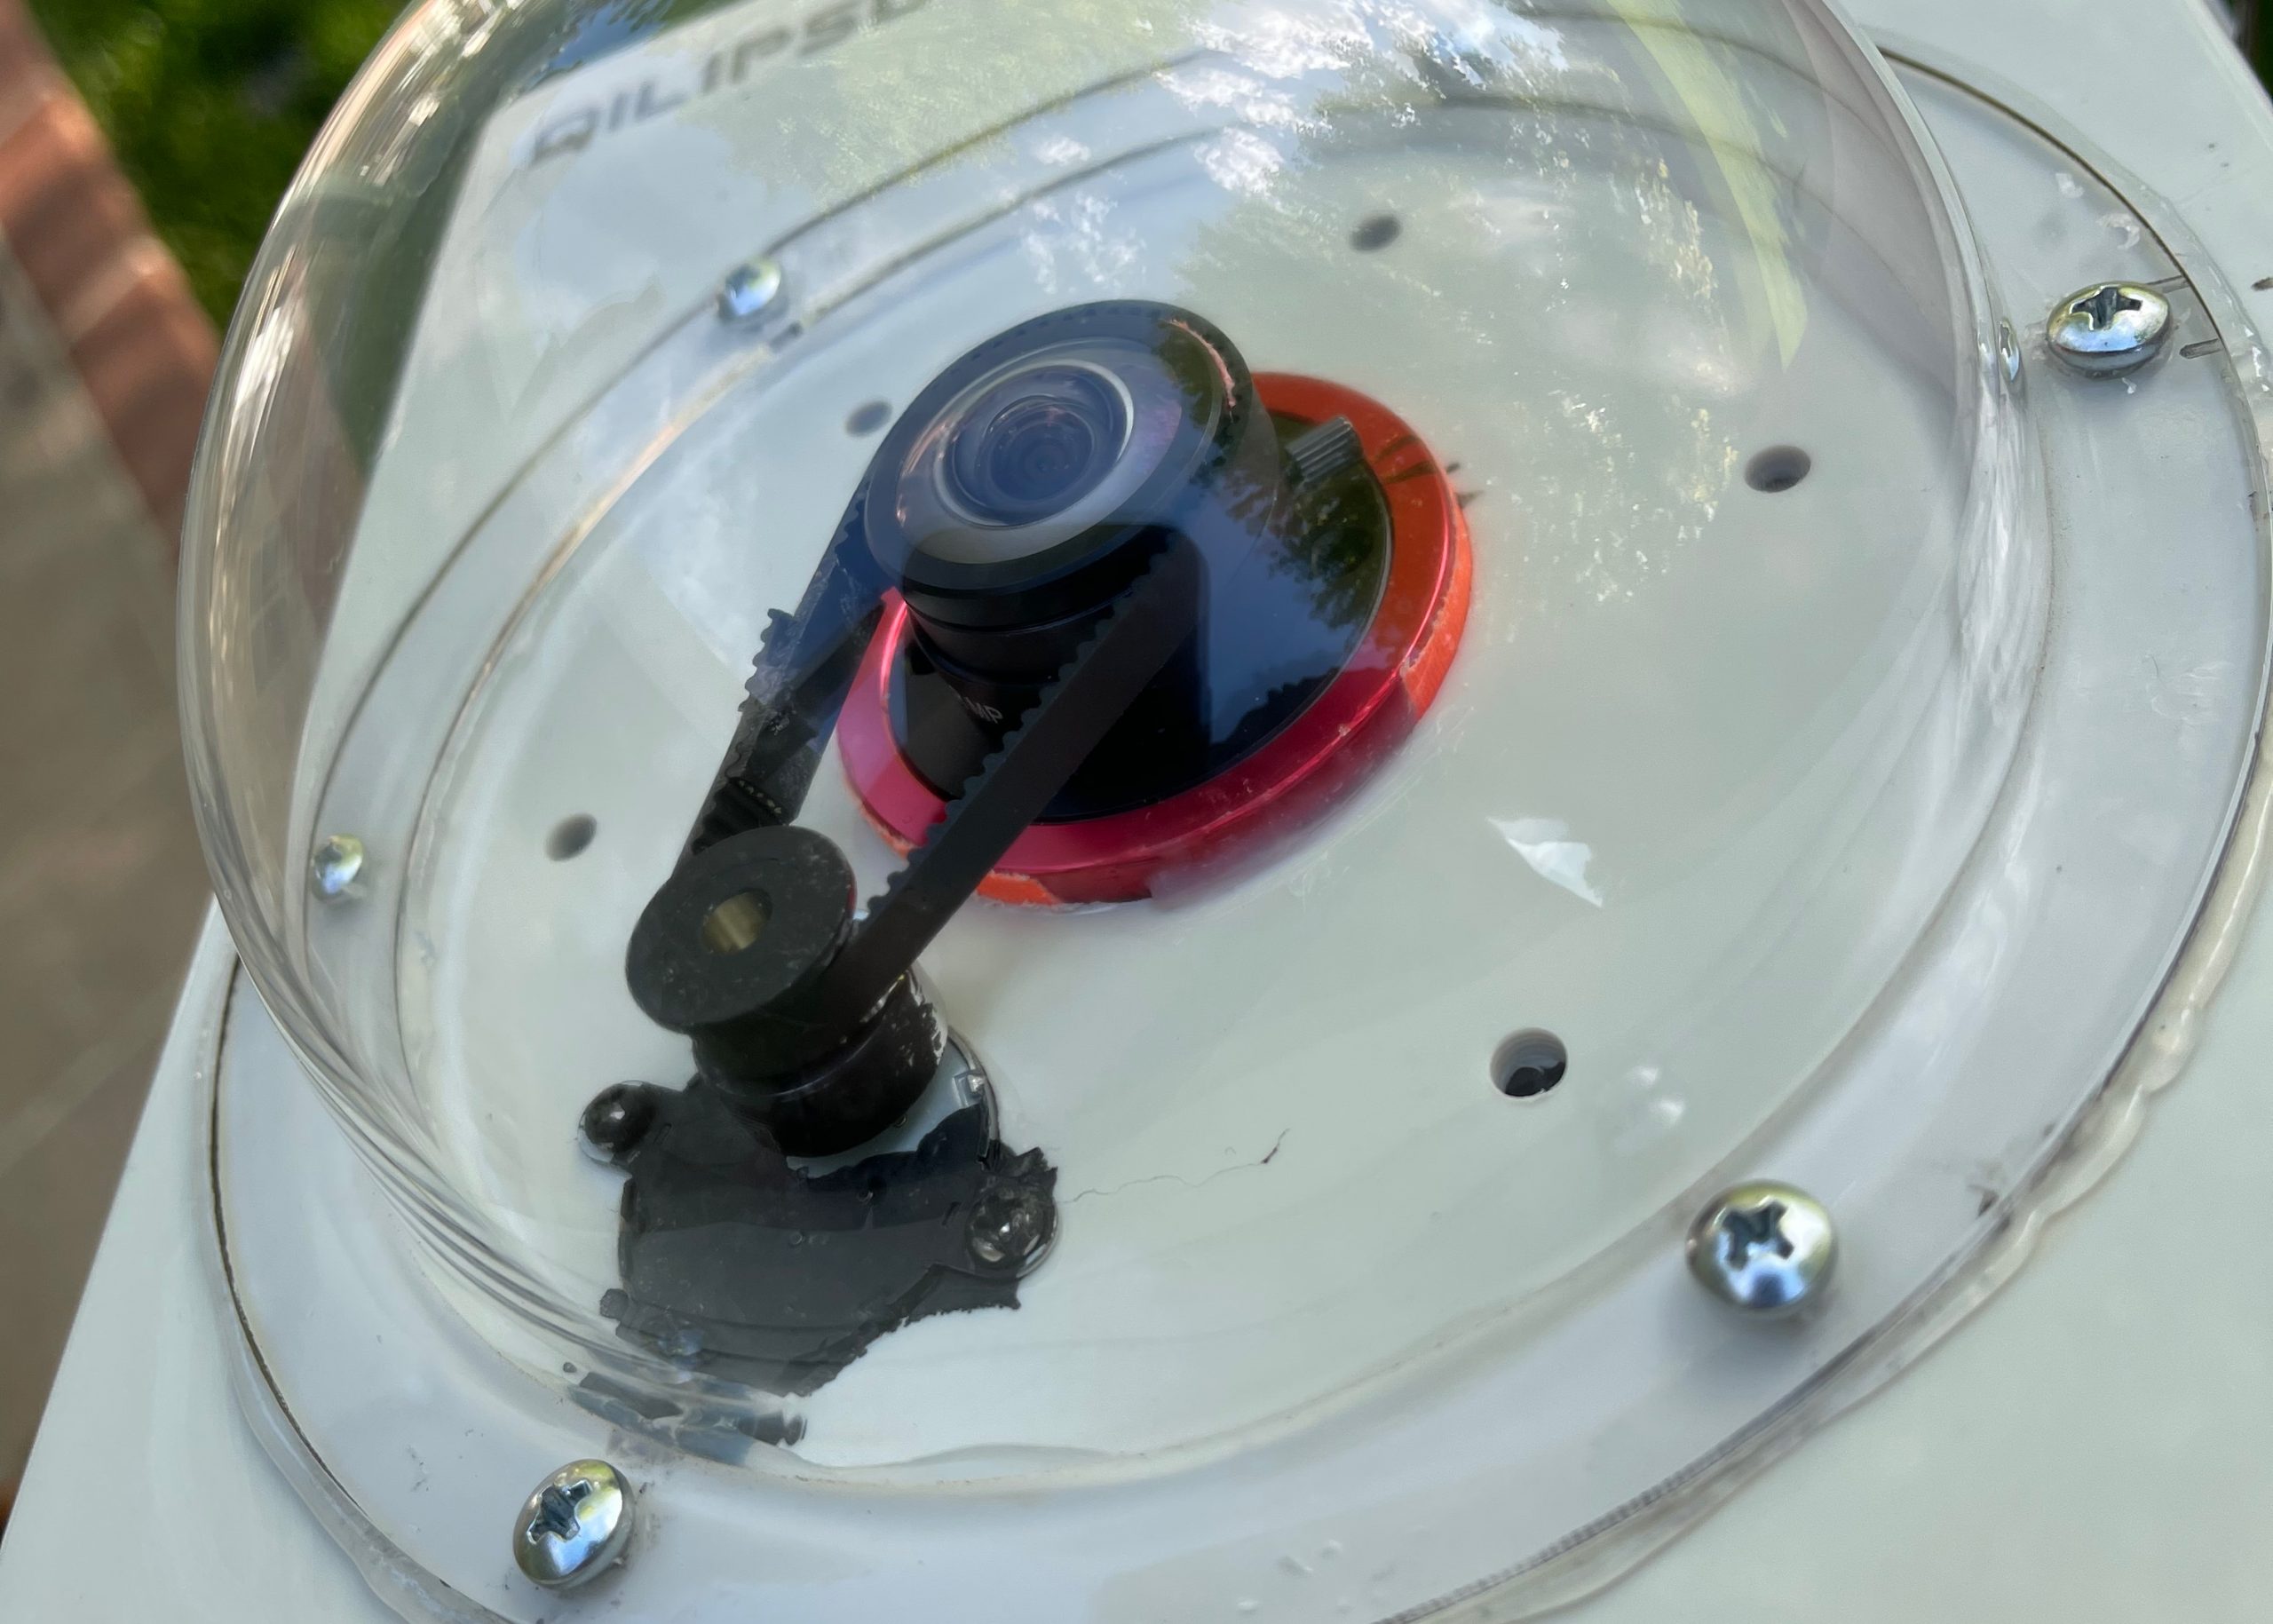
Quick little rundown of setting up SAMBA on your raspberry pi so you can view it through a finder window on your MacOS & Windows machines. This was a lot of trial and error on my end, and I can’t guarantee 100% that it will work for you, but, 90% should work for just about any Raspbian install.
Step 1: SSH into your Raspberry Pi – use Terminal on MacOS or CMD on Windows. .local may need to be .localhost depending on your laptop/desktop you’re accessing from.
ssh pi@allsky.localStep 2: create a new file ‘smb.sh’
* file name can be whatever you want, just remember it, and it MUST end with .sh
Type in `nano smb.sh’ (or whatever file name you want it to be).
nano smb.shStep 3: Copy and paste the following block into the NANO window.
* If you understand the basics of what’s below, you can edit to make it customized for your liking, but I’d suggest going with these defaults as I know it’s what works.
#!/bin/bash
# Basic install script for SAMBA, to enable network access from a MAC.
# Echo's & Colors can be eliminated - used for testing clarity.
Color_Off='\033[0m'       # Text Reset
Green='\033[0;32m'        # Green
echo -e "..... Installing ${Green}Samba${Color_Off}"
sudo apt install samba -y
echo -e "..... Setting Password for ${Green}Pi${Color_Off}"
sudo smbpasswd -a pi
sudo mv /etc/samba/smb.conf /etc/samba/smb.bak
echo -e "..... Seting Up ${Green}/etc/samba/smb.conf${Color_Off}"
{
     echo "### Config File ###"
     echo "[global]"
     echo "client min protocol = SMB2"
     echo "client max protocol = SMB3"
     echo "vfs objects = catia fruit streams_xattr"
     echo "fruit:metadata = stream"
     echo "fruit:model = RackMac"
     echo "fruit:posix_rename = yes"
     echo "fruit:veto_appledouble = no"
     echo "fruit:wipe_intentionally_left_blank_rfork = yes"
     echo "fruit:delete_empty_adfiles = yes"
     echo "security = user"
     echo "encrypt passwords = yes"
     echo "workgroup = WORKGROUP"
     echo "server role = standalone server"
     echo "obey pam restrictions = no"
     echo "map to guest = never"
     echo "[Allsky]"
     echo "comment = AllSky Home"
     echo "browseable = yes"
     echo "path = /home/pi"
     echo "read only = no"
     echo "create mask = 0775"
     echo "directory mask = 0775"
     echo "### end Config ###"
} | sudo tee /etc/samba/smb.conf
echo -e "..... Restarting ${Green}SAMBA${Color_Off}"
sudo /etc/init.d/smbd restart
Step 4: Save the file by typing hitting ‘ctrl-x‘ and then enter when prompted.
Step 5: Change the file to a usable script file
chmod +x smb.shStep 6: run the file from the command line
During the install process, It’ll ask you to enter a username & password. I keep the default of ‘pi’ for the user name.
* the ./ in the command below is required.
./smb.shStep 7: From there, go to your laptop/desktop and browse the network – you should see the AllSky share in there now. You’ll need to use the username of ‘pi’ (or whatever you set), and the password you set.
You should have full access to read & write – keep that in mind… if you delete a file, it’s deleted!


